 Best javascript editor debugger
Ajax website
Best javascript editor debugger
Ajax website
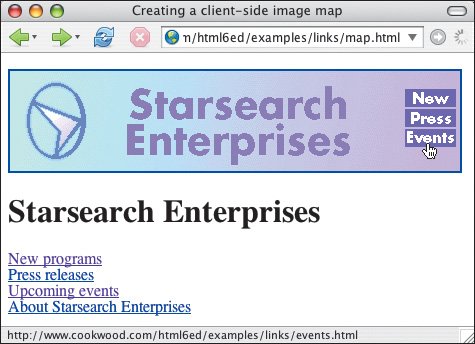
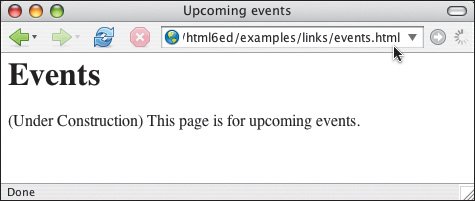
Creating a Client-Side Image MapImage maps link the areas of an image with a series of URLs so that a click in a particular area brings the user to the corresponding page. Client-side image maps run quickly because they are interpreted in your visitor's browser and don't have to consult the server for each click. In contrast to server-side image maps, they do not require a CGI script, and thus are simpler to create. Only very old browsers may not understand them. Figure 6.29. You can put the map anywhere you like in your (X)HTML document. Each clickable area is defined by its own set of coordinates, and has its own corresponding URL. Then, don't forget to add the usemap attribute to the image that will serve as the map.
To create a client-side image map:
|
Best javascript editor debugger
Ajax website
 Tips
Tips